
One practical concept. Two ways to use it.
Barni’s Innovative Bread Board is offered as a Learning Kit for Students and a Teaching Aid for Teachers — both built around practical, tool-less electrical wiring.
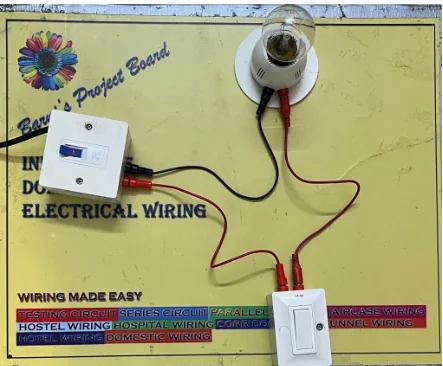
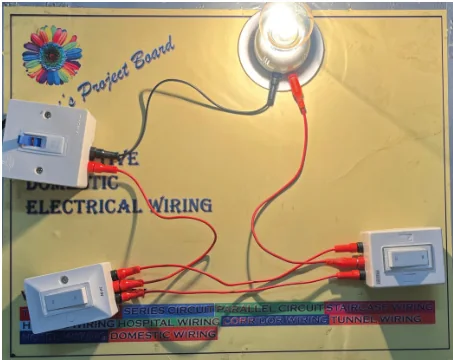
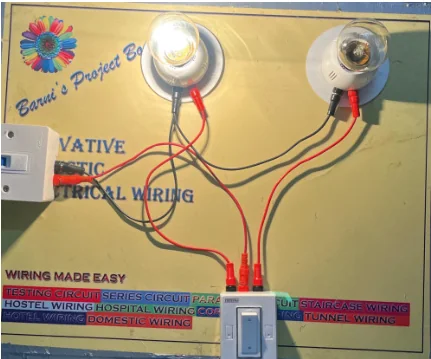
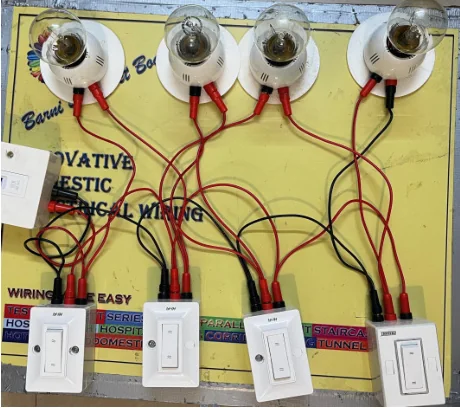
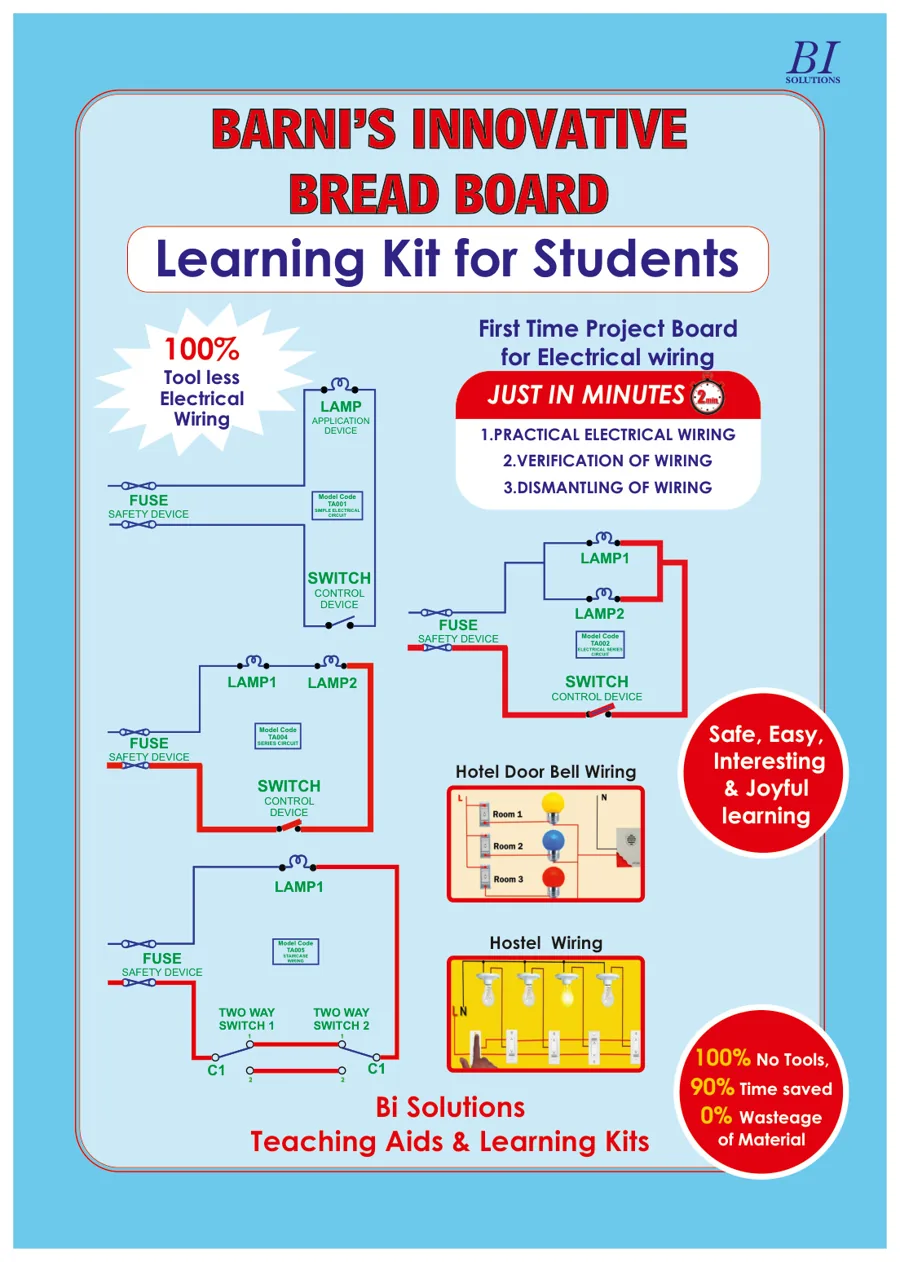
Photographs from the BI Solutions brochure. Click any image to enlarge.
Barni’s Innovative Bread Board — Student Learning Kit
A practical project board that lets students learn electrical wiring by doing it. Learners identify each device, arrange the circuit, connect it, verify it and then dismantle it — ready to try again.
Purpose. To give first-time learners a clear, hands-on route from a circuit diagram to a working arrangement, so the concepts behind wiring are understood rather than memorised.
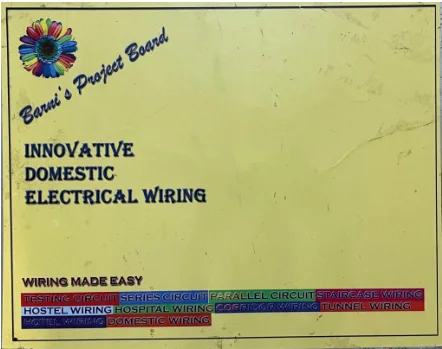
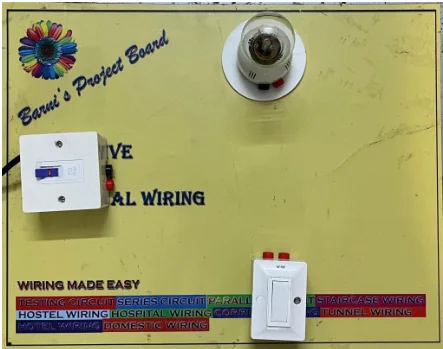
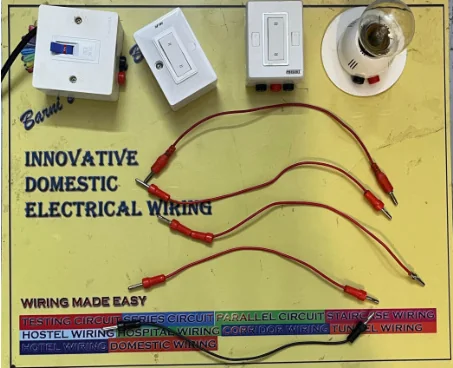
The project board is where every circuit begins.
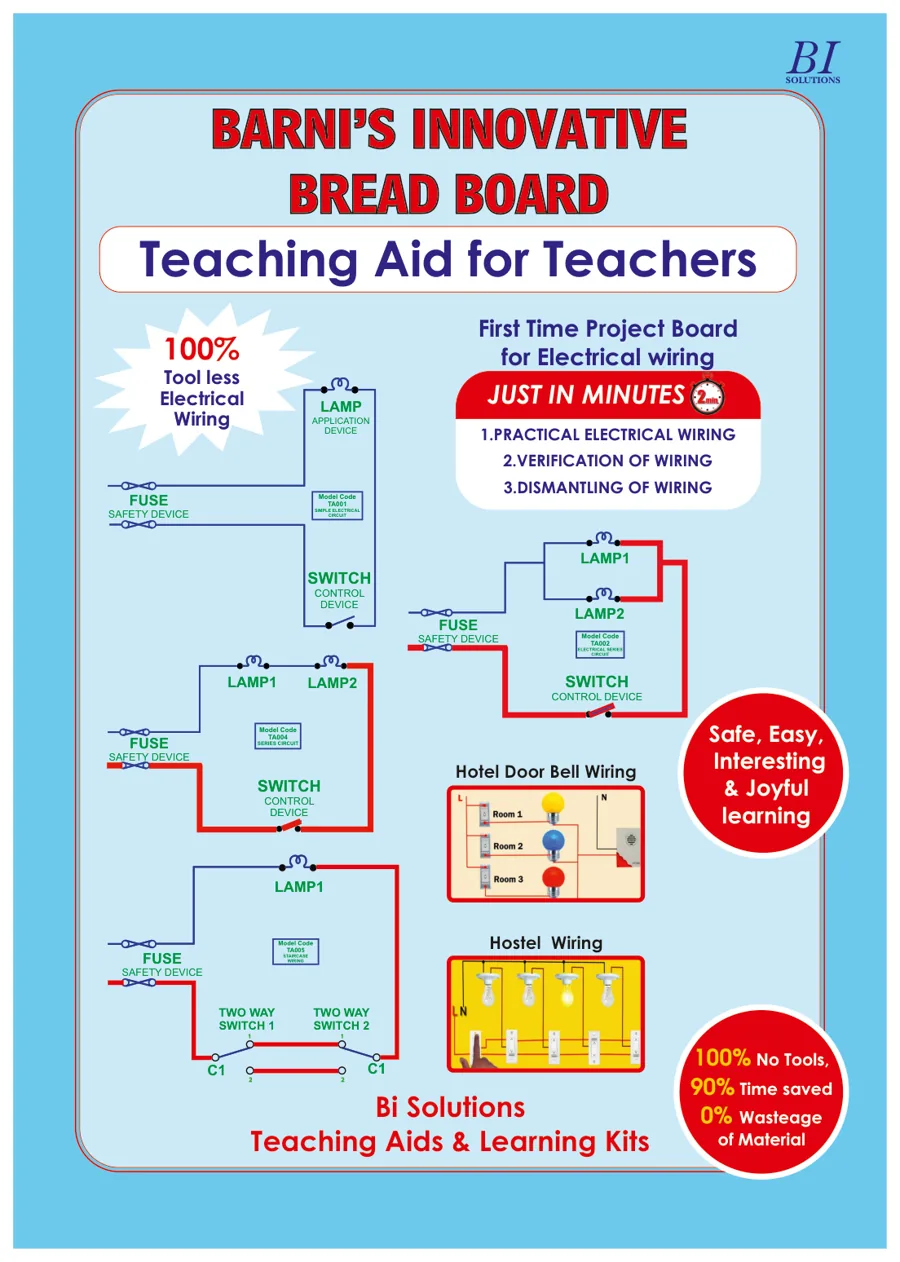
Every exercise starts with the same board. The legend printed on its face names wiring topics such as series circuit, parallel circuit, staircase wiring, hostel wiring, tunnel wiring and domestic wiring.
- One board, many exercises — from a single lamp to multi-point wiring
- Devices are placed on the board rather than screwed to a wall, so each exercise can be reset
- Designed for 100% tool-less electrical wiring, as stated in the brochure
Four devices. Three jobs. Every circuit.
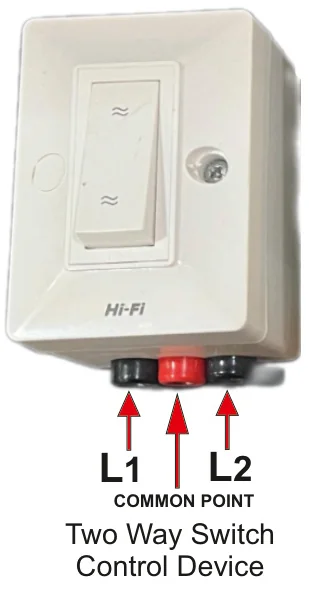
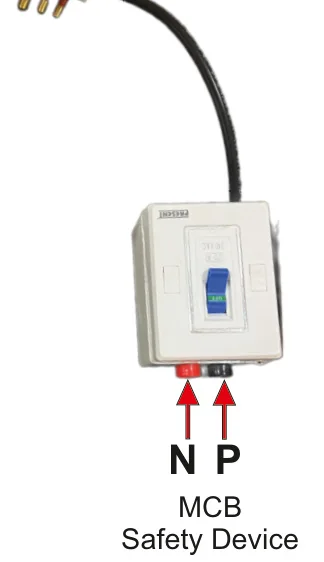
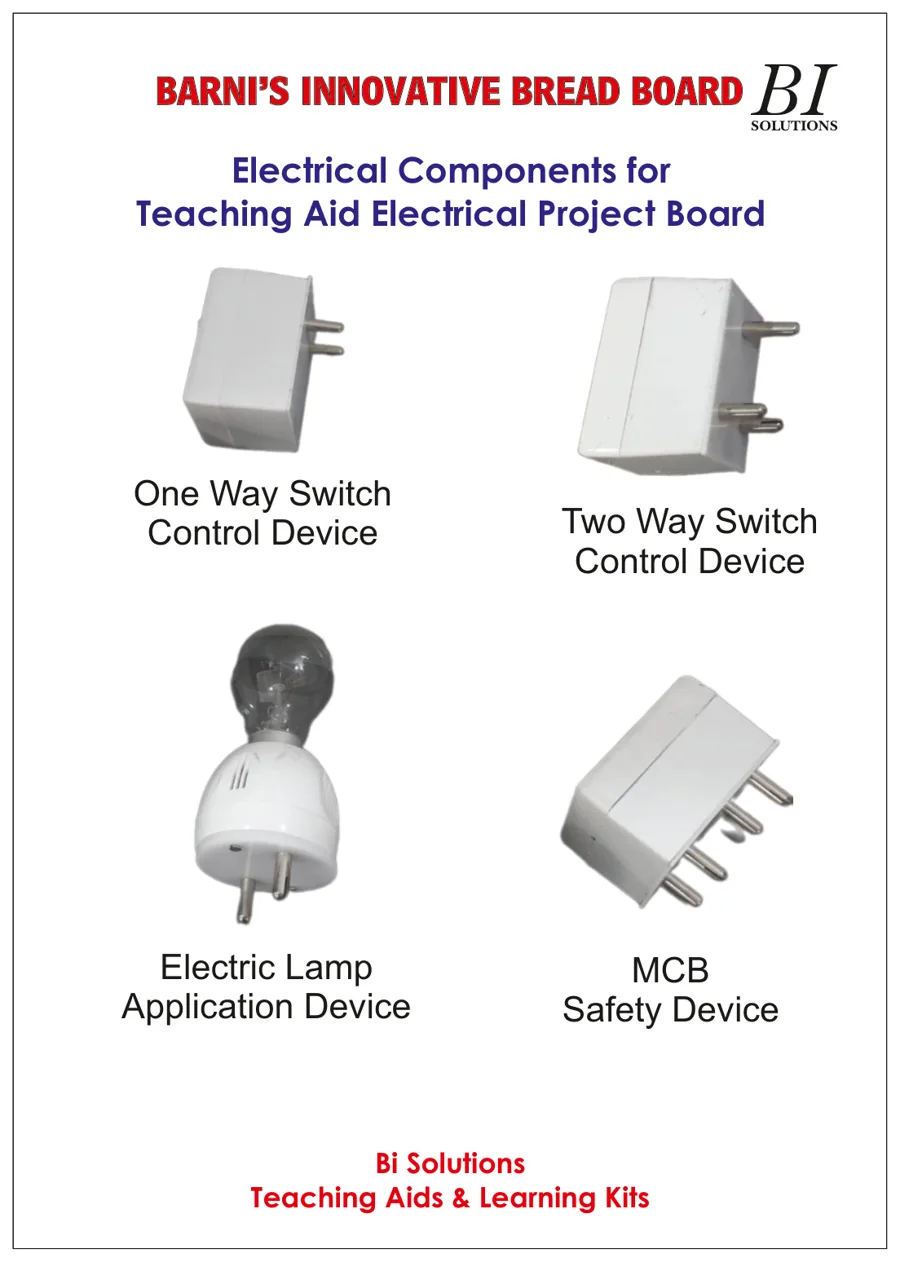
Select a component to see its role and the terminal markings shown in the brochure.
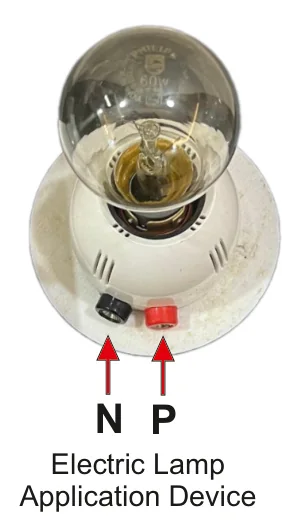
Electric lamp
The device that shows the result of the circuit, so learners can see at a glance whether their wiring is complete.
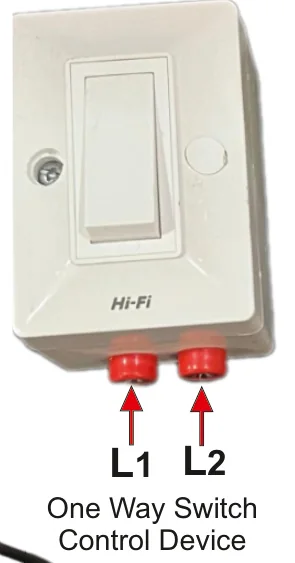
One-way switch
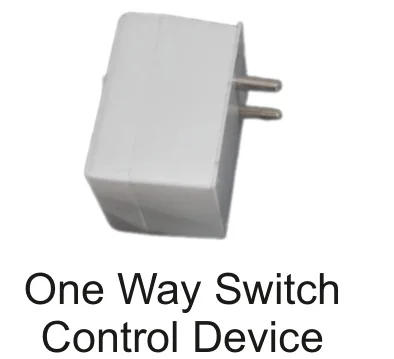
Opens and closes a circuit from a single point. It is the control device in the simple, series and parallel exercises.
Two-way switch
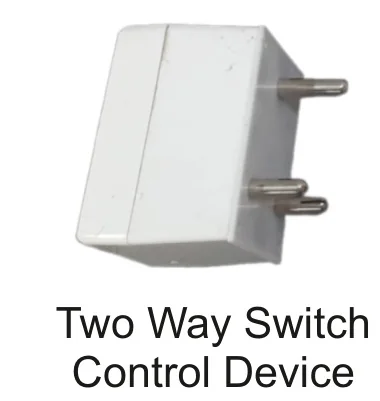
Lets a circuit be controlled from two places. Two of these are used together in the staircase wiring exercise.
MCB
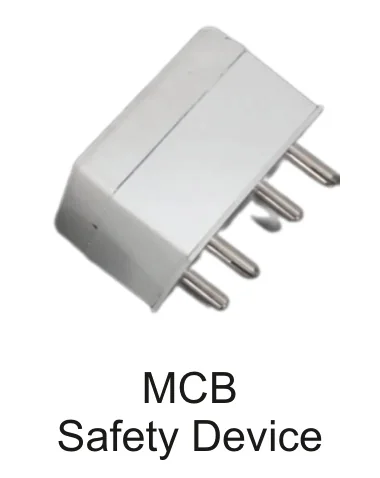
The protective device in the circuit, supplied with a lead in the brochure photograph. Every exercise starts with it in place.
See each connection being made.
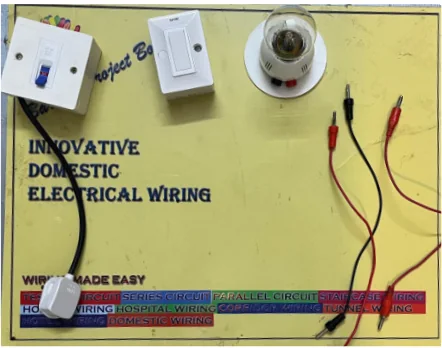
The brochure’s four-step sequence shows a student placing the devices and bringing in the leads before the circuit is complete. Use the arrows, or press play.
- Devices are placed to follow the circuit diagram
- Leads are connected one at a time and checked
- The finished circuit is verified, then dismantled for the next attempt

Illustration for context. It does not depict an actual BI Solutions customer, institution or the exact product.
Learning that happens at the bench, not just the blackboard.
Students can work individually or in pairs, following the exercise sequence and discussing each connection with their instructor.
- Identify application, control and safety devices
- Arrange and wire the circuit shown in the diagram
- Verify the arrangement with the instructor
- Dismantle and repeat to build confidence
Key features
- 100% tool-less electrical wiring (brochure)
- Three activities: wire, verify, dismantle
- Labelled application, control and safety devices
- Illustrated four-step practice sequences
- Hostel and hotel doorbell wiring examples
Learning benefits
- Connects diagrams to real devices
- Builds confidence through repetition
- Teaches device roles and terminal names
- Encourages careful, step-by-step working
- Makes practice interesting and joyful
Practical applications
- Simple electrical circuit
- Series circuit
- Two-lamp parallel circuit
- Staircase wiring
- Tunnel / godown, hotel doorbell & hostel wiring
Who should use it?
- School and college students of electrical subjects
- ITI and polytechnic learners
- Skill-development and vocational trainees
- Anyone starting electrical wiring practice
For the complete contents list and quantities of the Student Learning Kit, please enquire.
Barni’s Innovative Bread Board — Teacher Teaching Aid
A teaching aid that helps instructors explain and demonstrate electrical wiring on a project board. Build the circuit in front of the class, name each device, and show the finished arrangement.
Purpose. To make demonstrations clearer and lessons more structured — so learners see how a circuit is assembled, not just what the final diagram looks like.
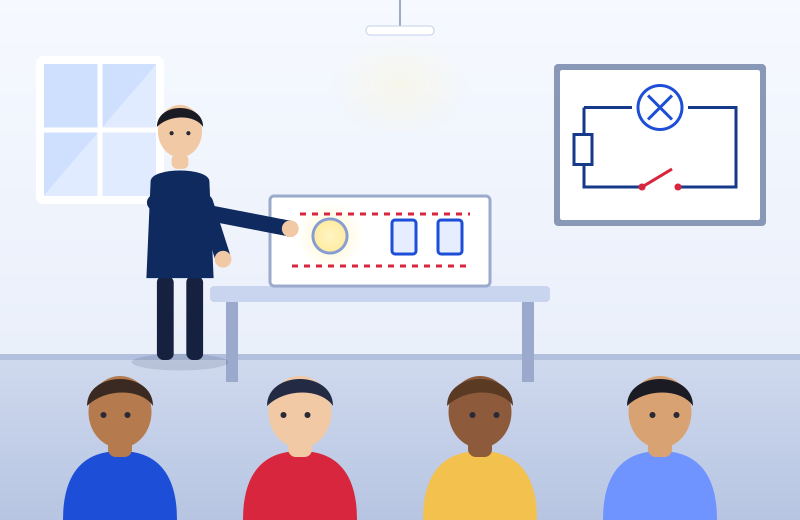
Illustration for context. It does not depict an actual BI Solutions customer, institution or the exact product.
Build the circuit where everyone can see it.
A demonstration works best when the whole class can follow each connection. The Teaching Aid keeps the circuit visible, so you can name each device, show where it goes and explain why.
- Introduce component names and roles
- Demonstrate simple and parallel circuits
- Explain two-way switches through staircase wiring
- Rebuild a circuit to answer “what if” questions
The same four devices, shown in plug-in form.
The Teaching Aid brochure presents the components with plug-in pins, so each device can be fitted to the board during a demonstration. Contact BI Solutions for the exact configuration supplied.
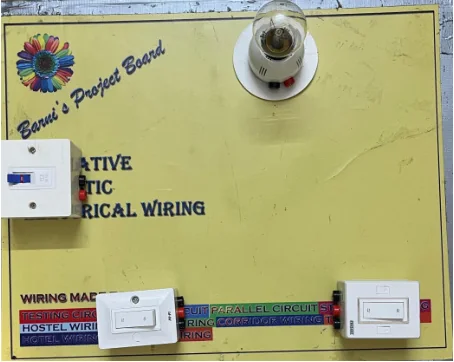
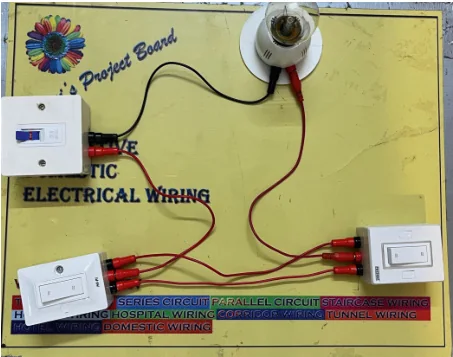
Staircase wiring in four steps.
A ready-made lesson sequence from the brochure: one lamp controlled from two places with two two-way switches. Present each step in turn, pausing for questions.
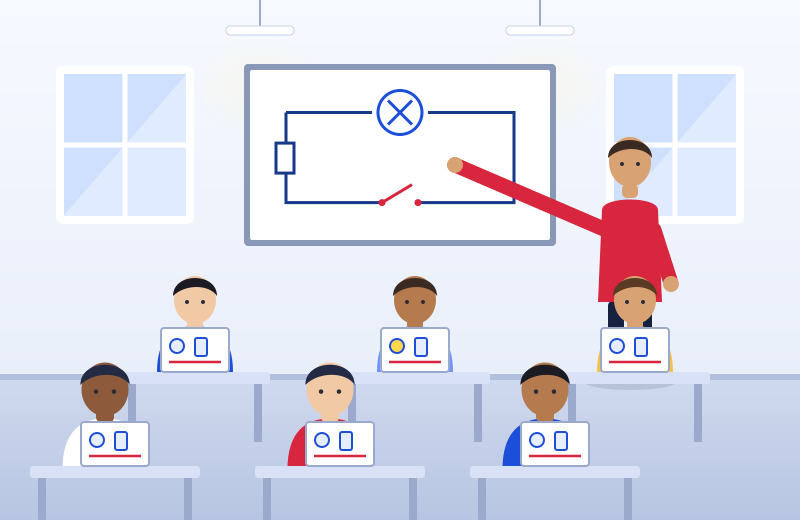
From the whiteboard diagram to the working circuit.
Draw the circuit, name the devices, then build it. Students see the same idea in three forms: diagram, board and result.
- Gives each lesson a clear start, middle and end
- Reduces reliance on drawn diagrams alone
- Lets learners predict, then verify
Key features
- Same Barni’s Bread Board concept as the student kit
- Components shown in plug-in form in the brochure
- Step-by-step example sequences for lessons
- Covers simple, series, parallel and staircase wiring
Teaching benefits
- Makes device roles visible to the whole class
- Gives lessons a clear structure
- Lets teachers answer “what if” by rebuilding
- Supports repeat demonstrations
Practical applications
- One lamp with one switch
- Staircase wiring with two two-way switches
- Two lamps in a parallel circuit
- Tunnel / godown, hotel and hostel wiring
Who should use it?
- Electrical teachers and instructors
- Lab-in-charge staff and trainers
- ITI, polytechnic and college faculty
- Training-centre trainers
Not sure which edition suits you?
Tell us who will use the board and what you teach. We will help you choose.