
Identify. Arrange. Wire. Verify. Repeat.
The brochure shows learners moving from recognising components to completing a wiring exercise in clear, illustrated stages. Try the interactive circuit and step through the sequence below.
Every exercise has three jobs to understand.
The brochure labels each device by its job in the circuit. Learn these three roles and every diagram becomes easier to read.
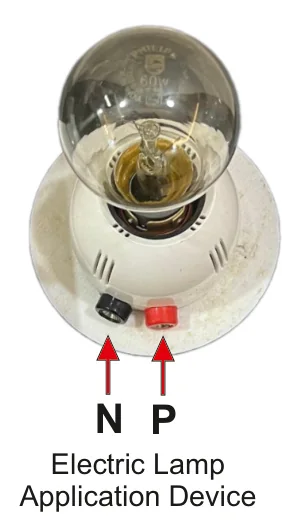
Does the useful work
The lamp shows the circuit is complete. It is the visible outcome of the learner’s wiring.
Decides when it works
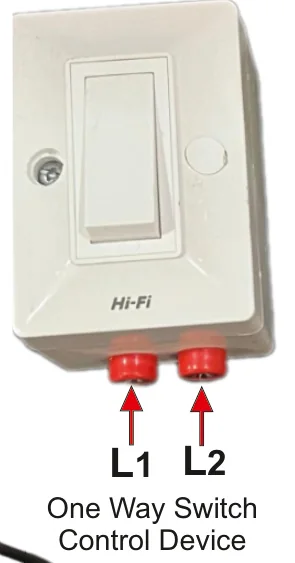
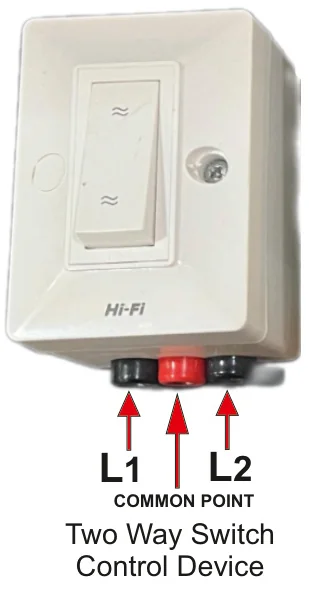
One-way and two-way switches open and close the circuit, from one place or from two.
Protects the circuit
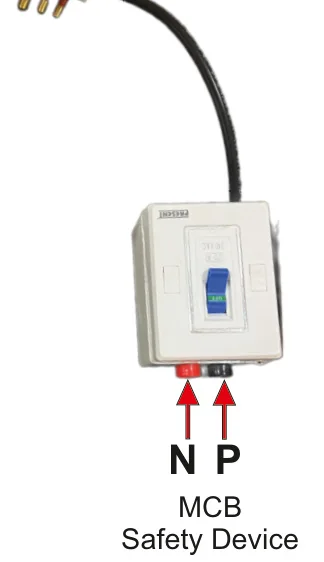
The brochure diagrams show a fuse; the component photographs show an MCB as the safety device.
Know every part before you connect anything.
Electric lamp
The device that shows the result of the circuit, so learners can see at a glance whether their wiring is complete.
One-way switch
Opens and closes a circuit from a single point. It is the control device in the simple, series and parallel exercises.
Two-way switch
Lets a circuit be controlled from two places. Two of these are used together in the staircase wiring exercise.
MCB
The protective device in the circuit, supplied with a lead in the brochure photograph. Every exercise starts with it in place.
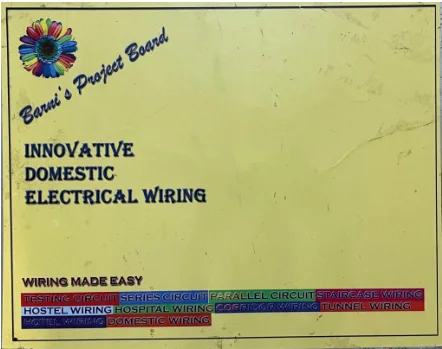
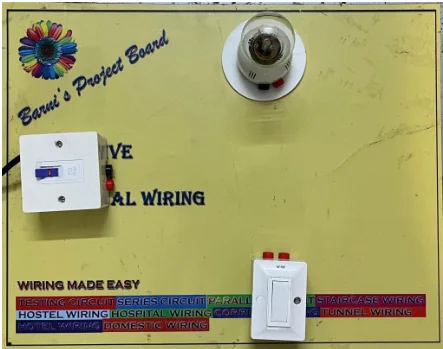
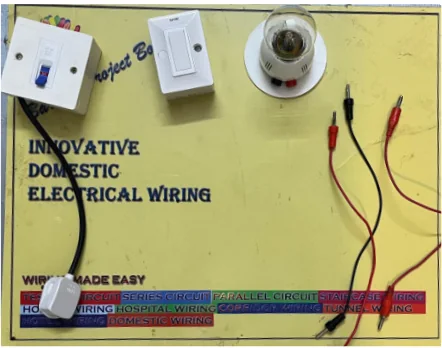
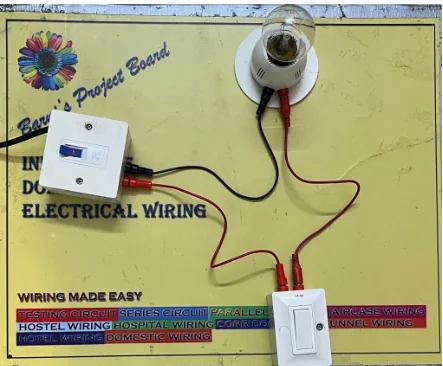
Arrange the circuit, then wire it.
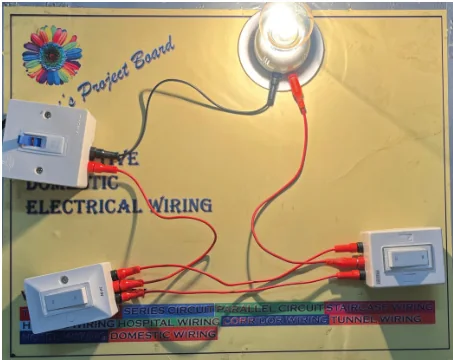
With the devices identified, the learner studies the circuit diagram, places each device on the board and brings in the connecting leads. This is where a diagram becomes a working arrangement.
- Arrangement: follow the layout before touching a lead
- Practical wiring: connect device to device, one lead at a time
Check it, then see it work.
Verification means comparing the wiring against the diagram and observing whether the circuit behaves as intended — with the teacher guiding and safe procedures followed.
Use the interactive schematic to see what a complete circuit means: close the switch and the path from the fuse through the switch to the lamp is complete.
The schematic is a conceptual teaching illustration based on the brochure diagram, not a wiring instruction.
Taking it apart is part of the lesson.
The brochure treats dismantling as part of the exercise. Removing the circuit step by step reinforces how it was assembled and clears the board for the next attempt — or for another learner.
Want to see it work in your lab?
Ask about the board for your institution, or request details of the student kit and teaching aid.